120×278 Maxi Format: Installation
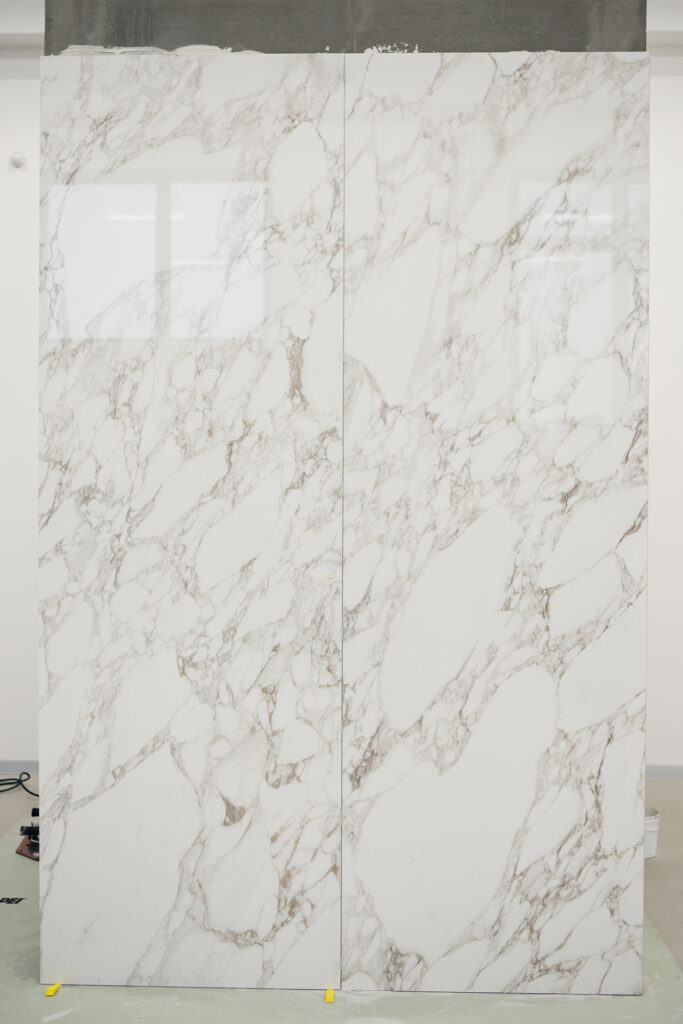
An important advantage of the 120×278 maxi-format is that it is easy to achieve the effect of a monolithic surface when laying it. You only need a few slabs to create a spectacular finish that will brighten the living room TV area and become the center of attraction of the interior.
The 6mm thickness is ideal for wall-mounting, making countertops for kitchen, sink or bar area, for cladding cabinets, end tables or dining tables. Also, the 120×278 format in 6mm thickness is excellent for use on facades.
In this article, dedicated to the specifics of working with the 120×278 maxi-format, together with MAPEI RUSSIA and professional tile layers @instabur.pro and @masterplitka, we will tell you how to properly mount the slab. We recommend following several important rules while laying maxi-format tiles in order to achieve a flawless result.
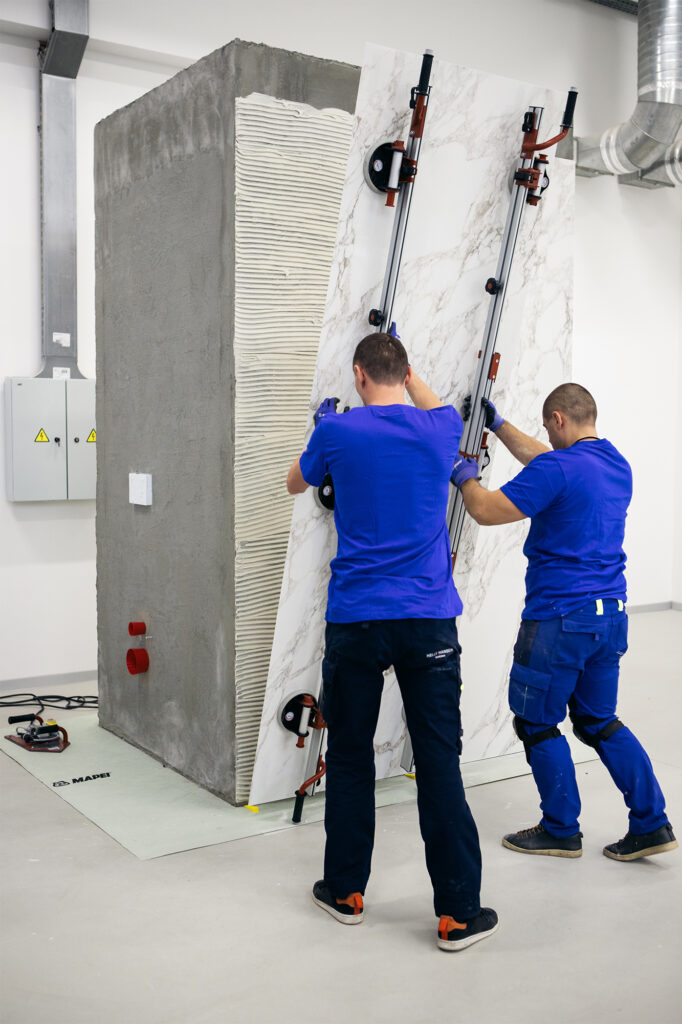
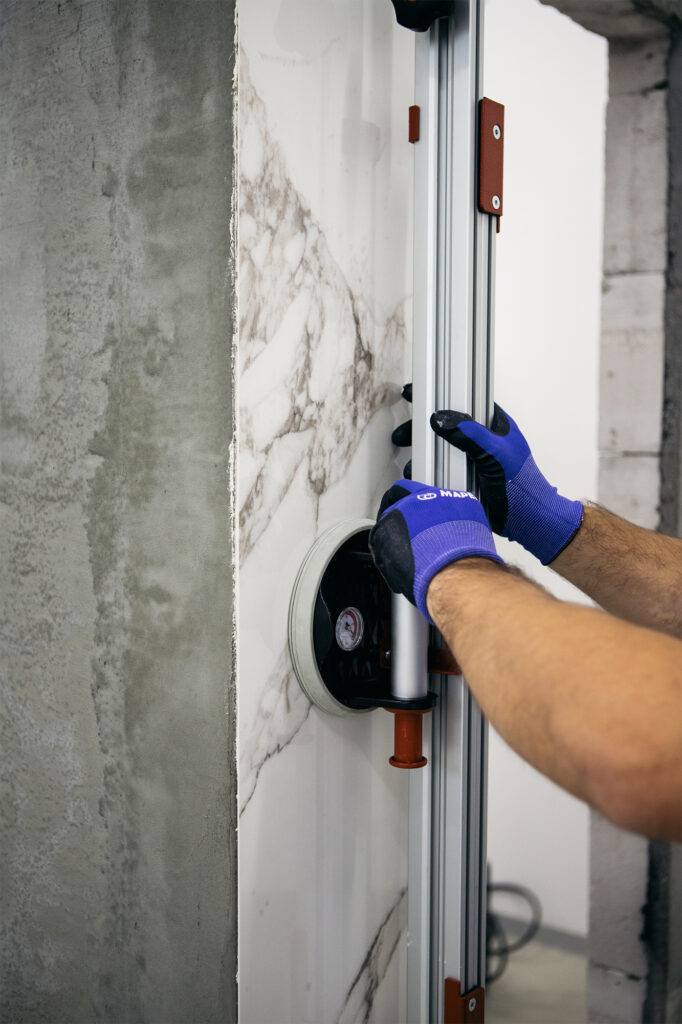
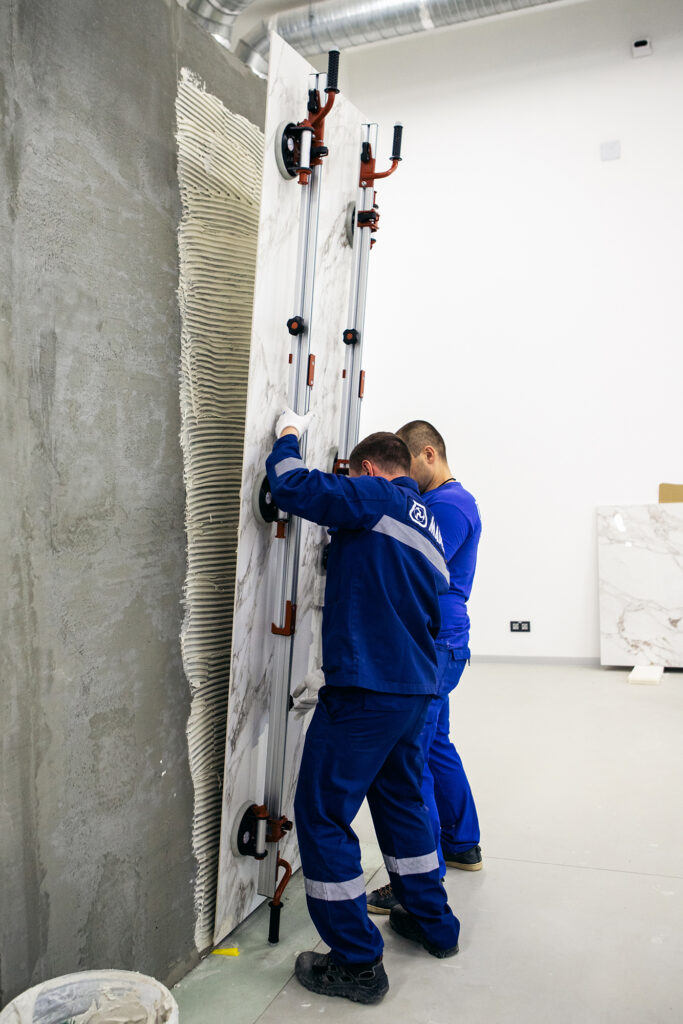
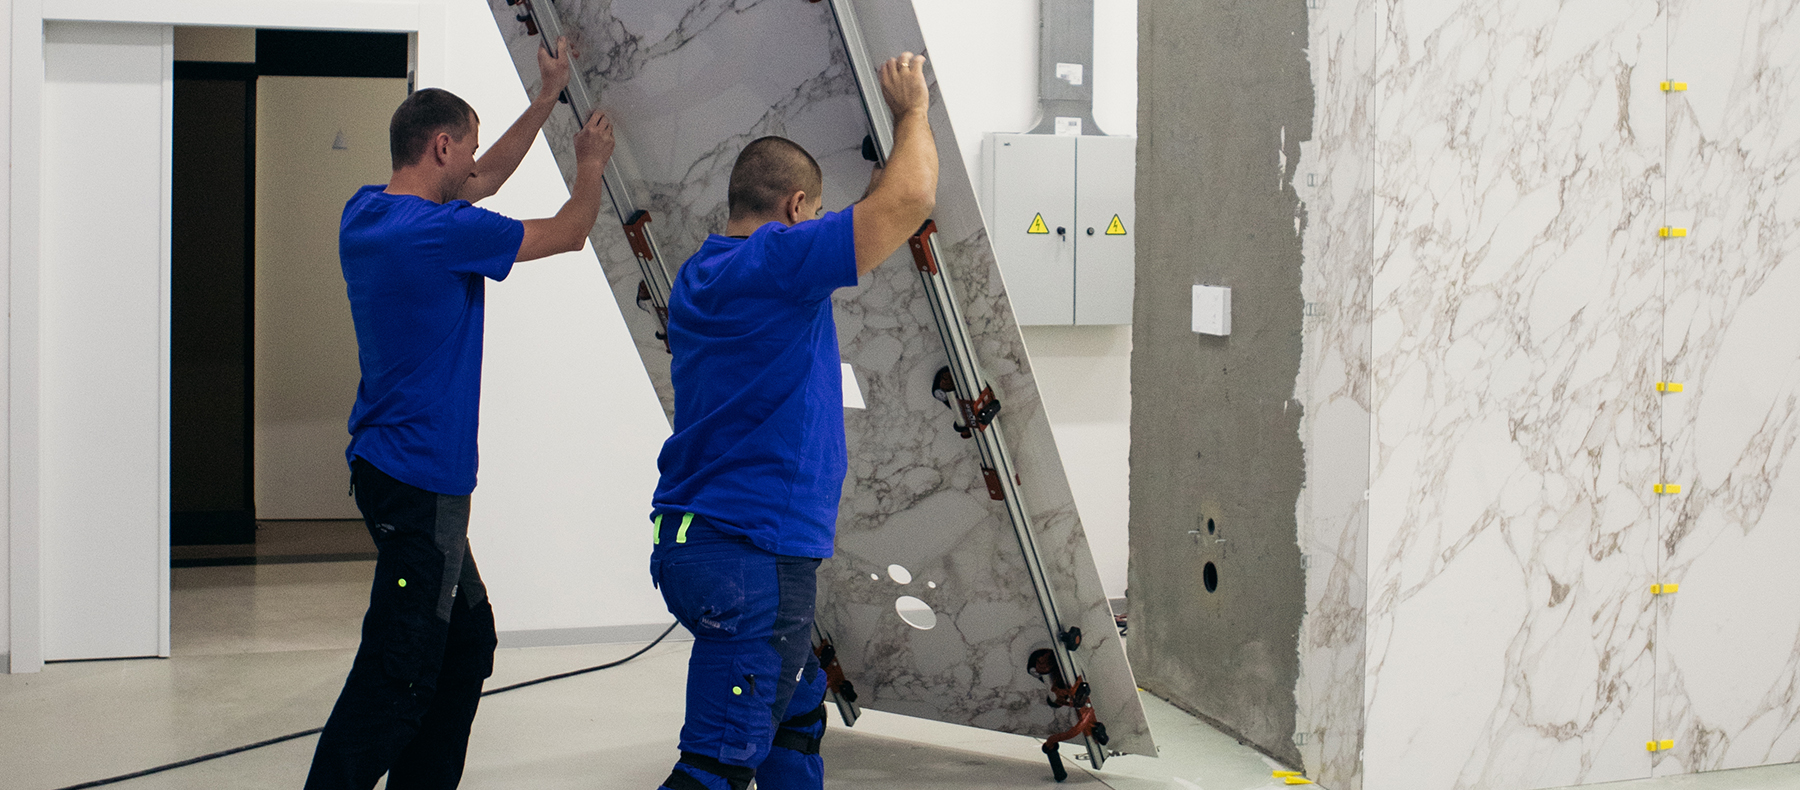
Installation of the 120×278 slab must be done by two people and maneuvered with a specialized carrier.
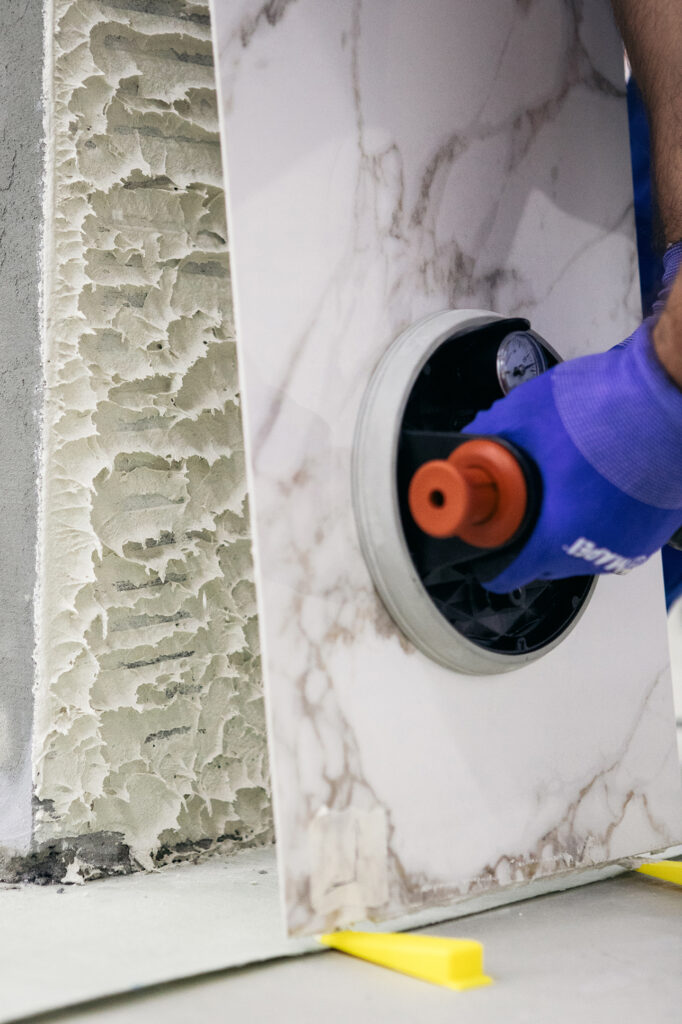
Press the adhesive-coated side of a tile firmly to the adhesive-coated base.
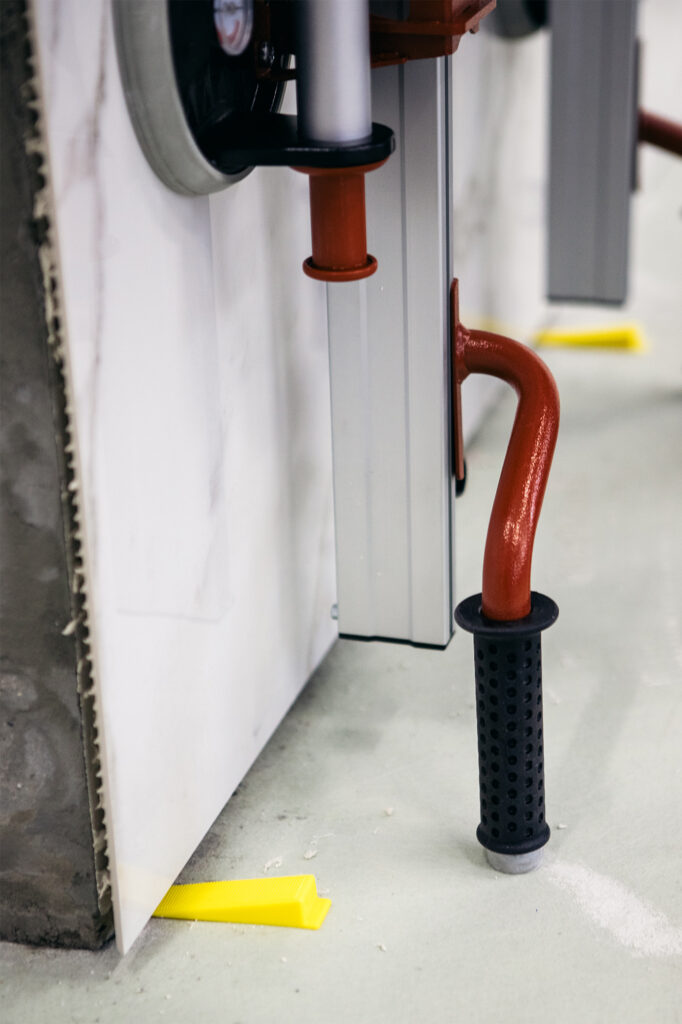
Please note that a gap of minimum 2 mm must be left between the slab and the floor.
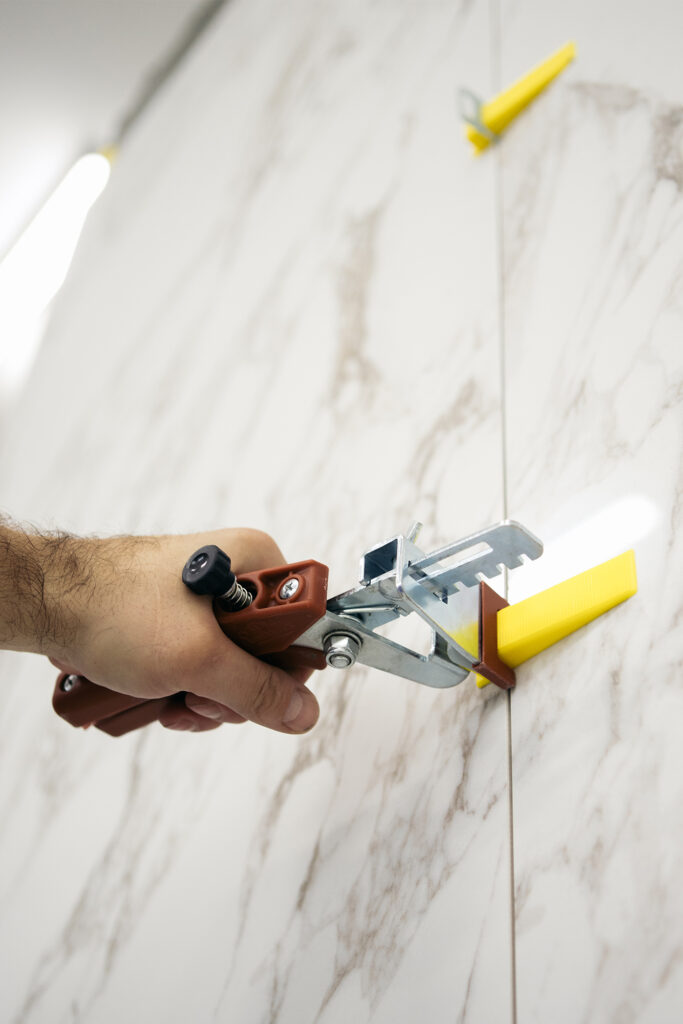
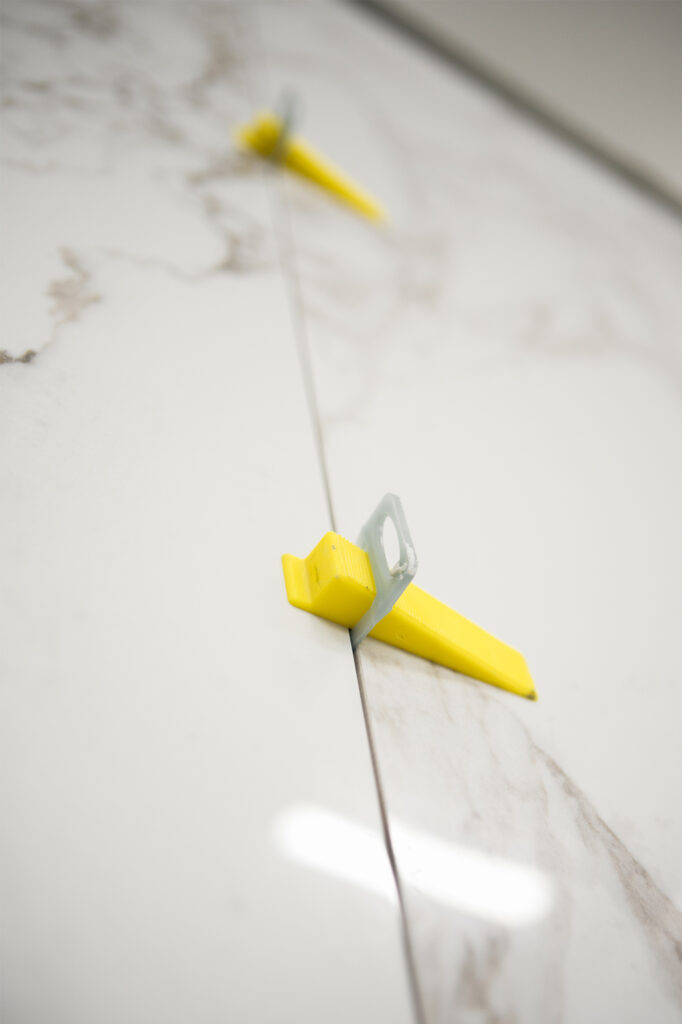
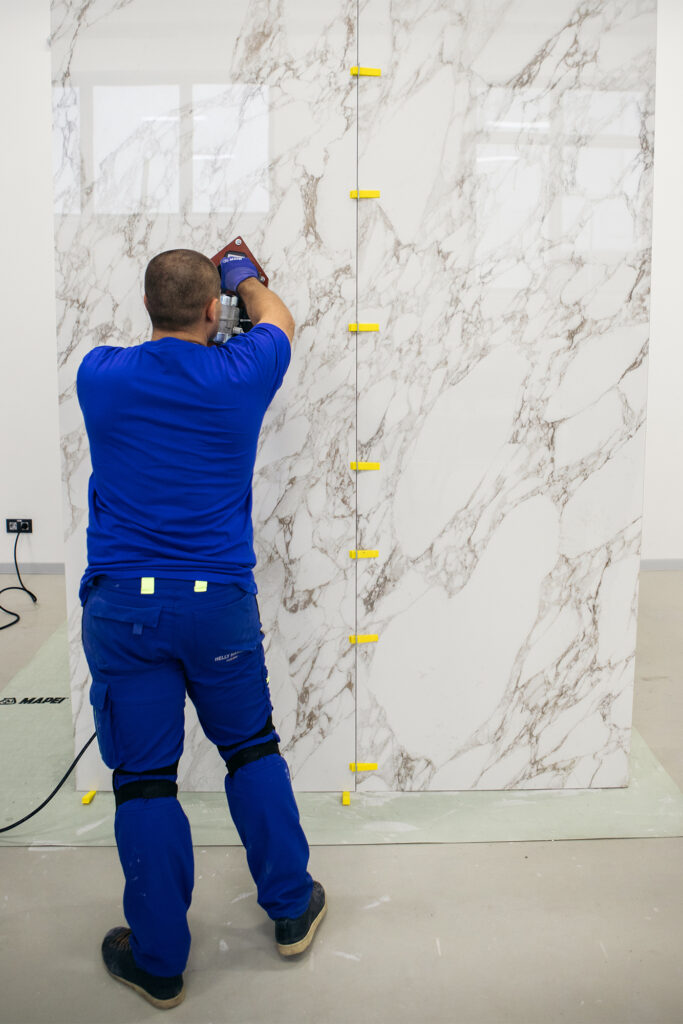
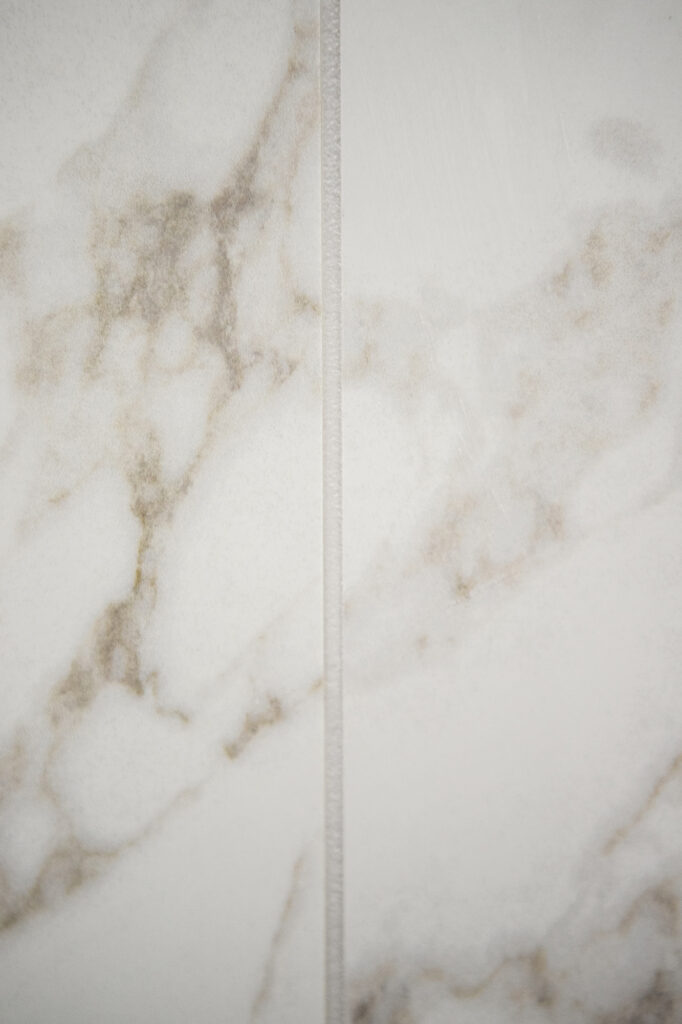
For durability and aesthetics, it is crucial to also leave a gap of at least 2 mm between tiles.
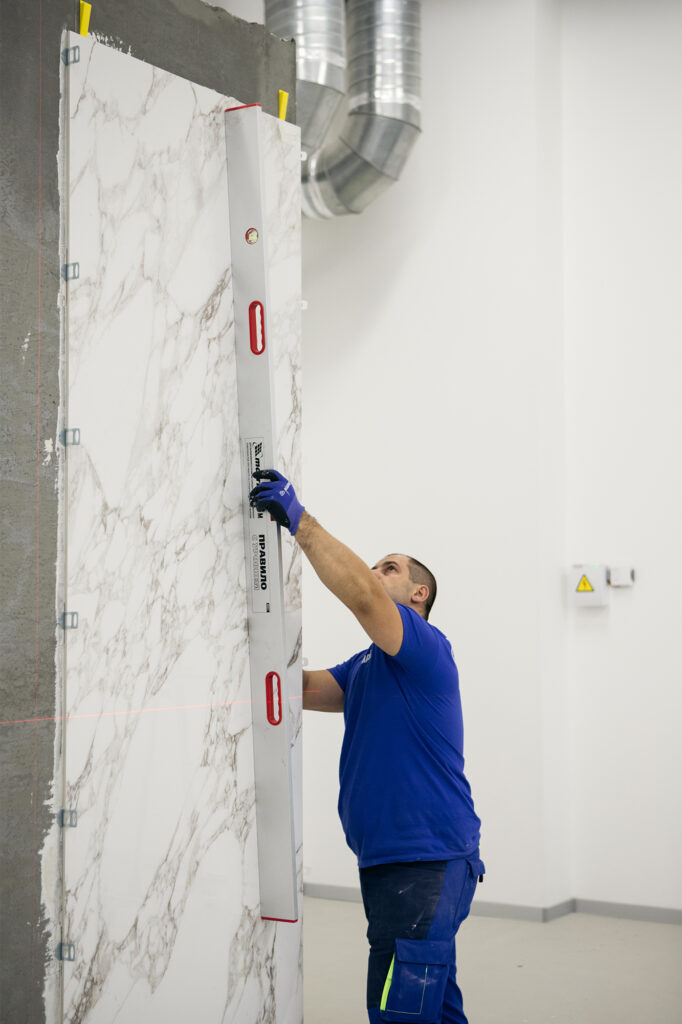
For best results, align adjacent tiles with a TLS.
Next step is to remove excess air from under the tiles.
This can be done in two ways.
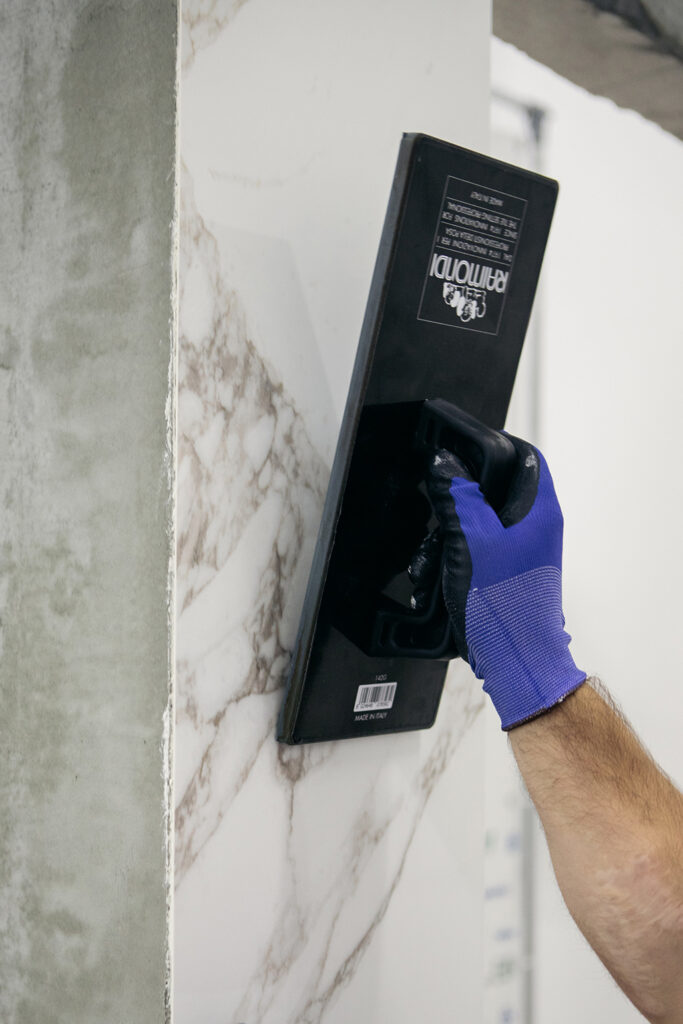
Manually, with a special device, moving along with patting movements from the center to the edges.
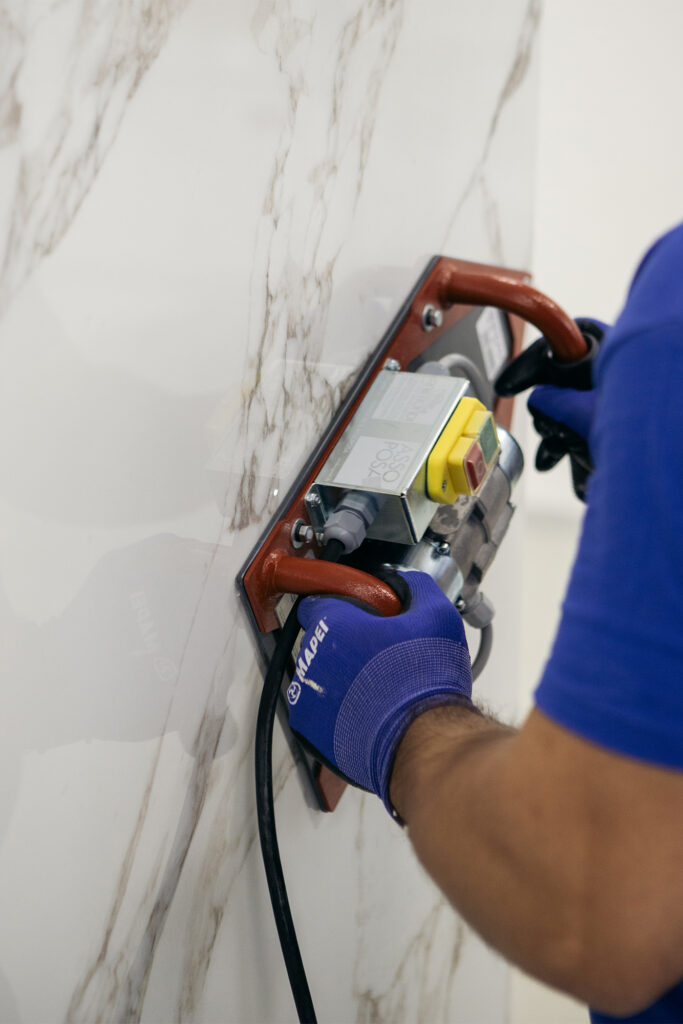
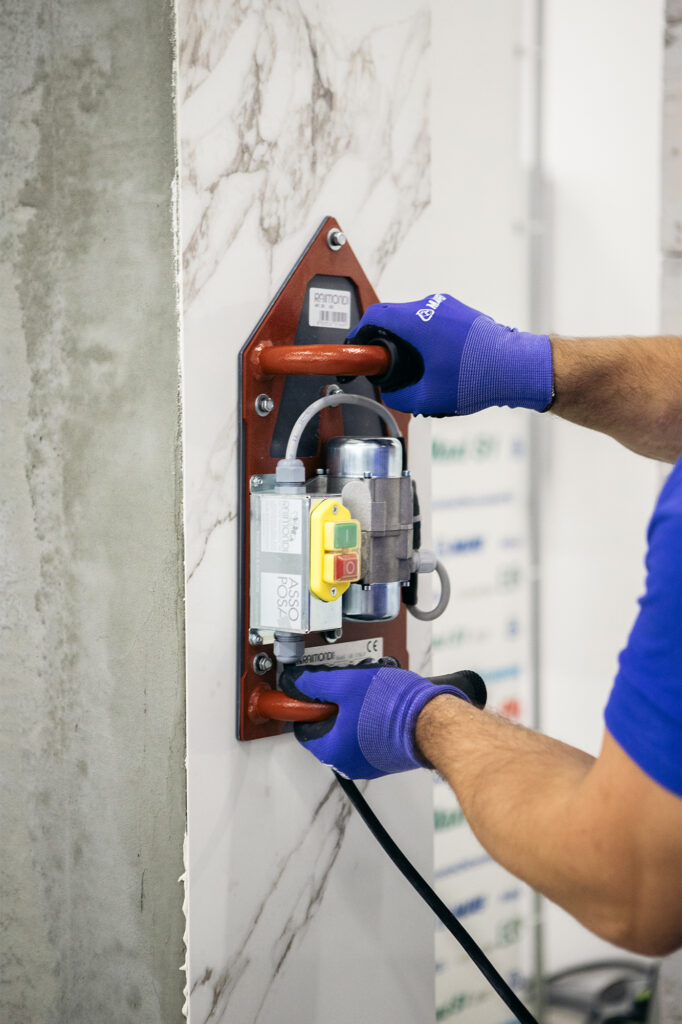
Alternatively, you can use a tile vibration machine that will distribute the adhesive evenly over the entire surface and remove air from under the slab (this is the recommended method).
APPLICATION OF EPOXY GROUT
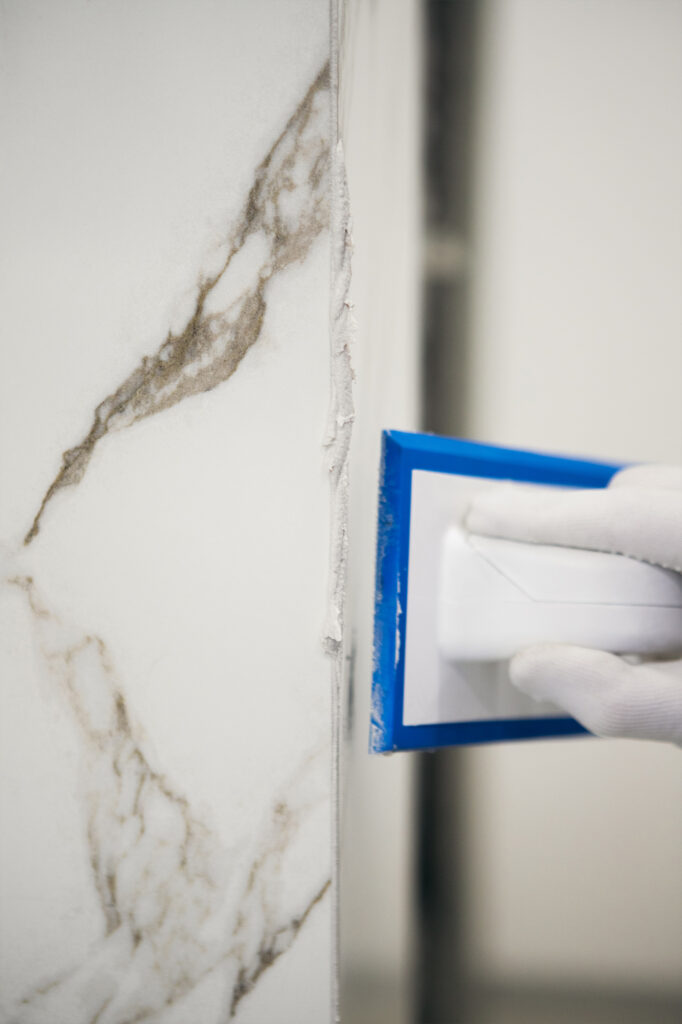
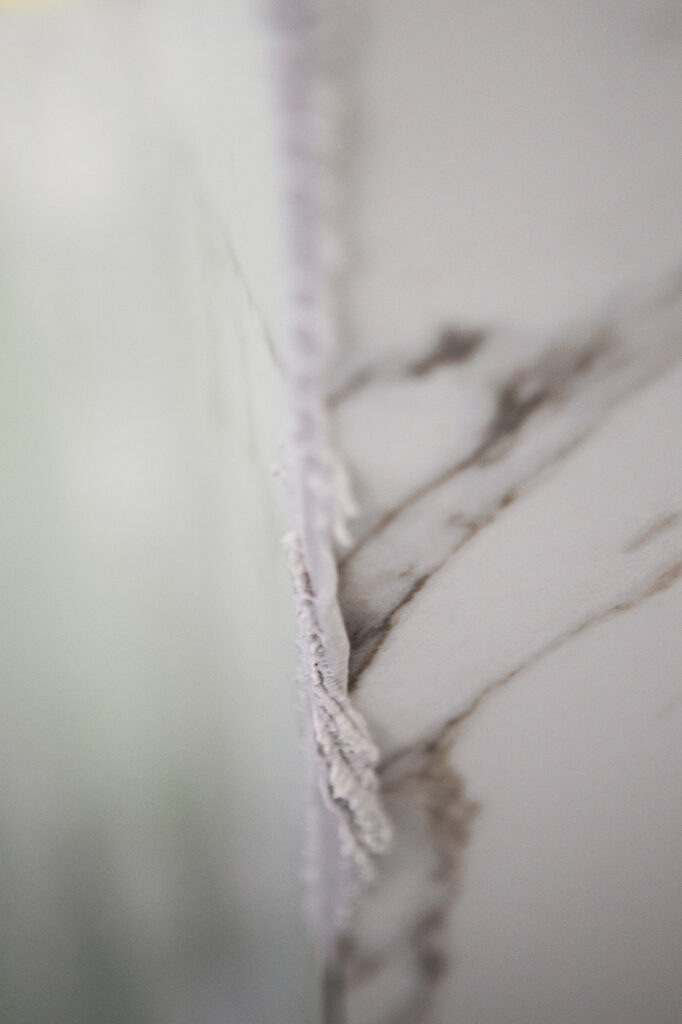
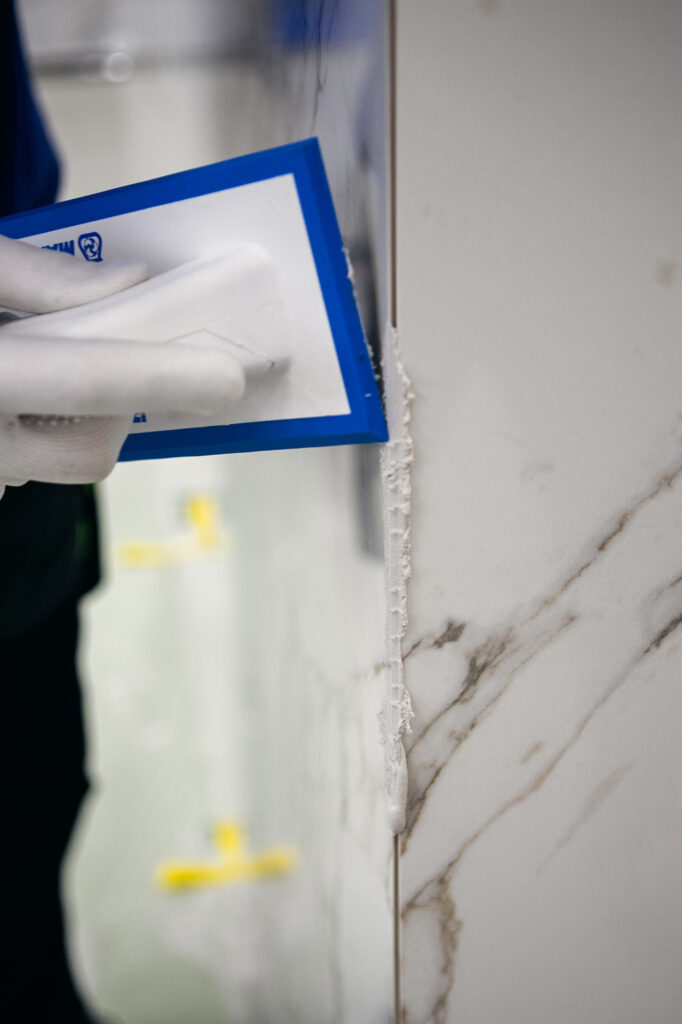
After laying the slab, it is necessary to fill the joints with the grout.
All operations must be carried out in strict accordance with the recommendations and instructions of the manufacturer.
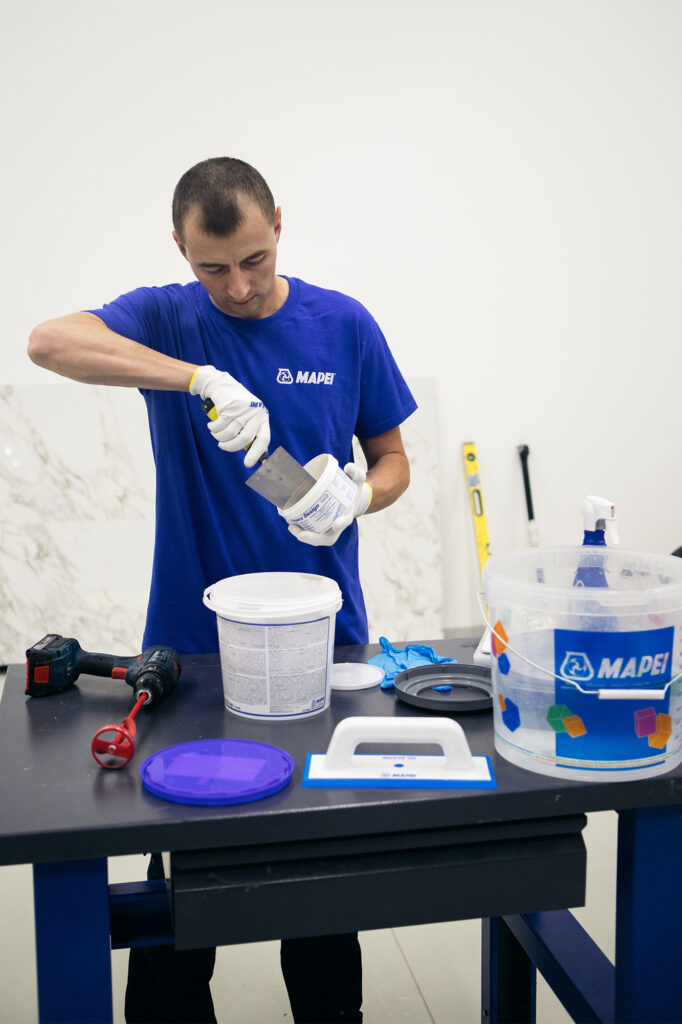
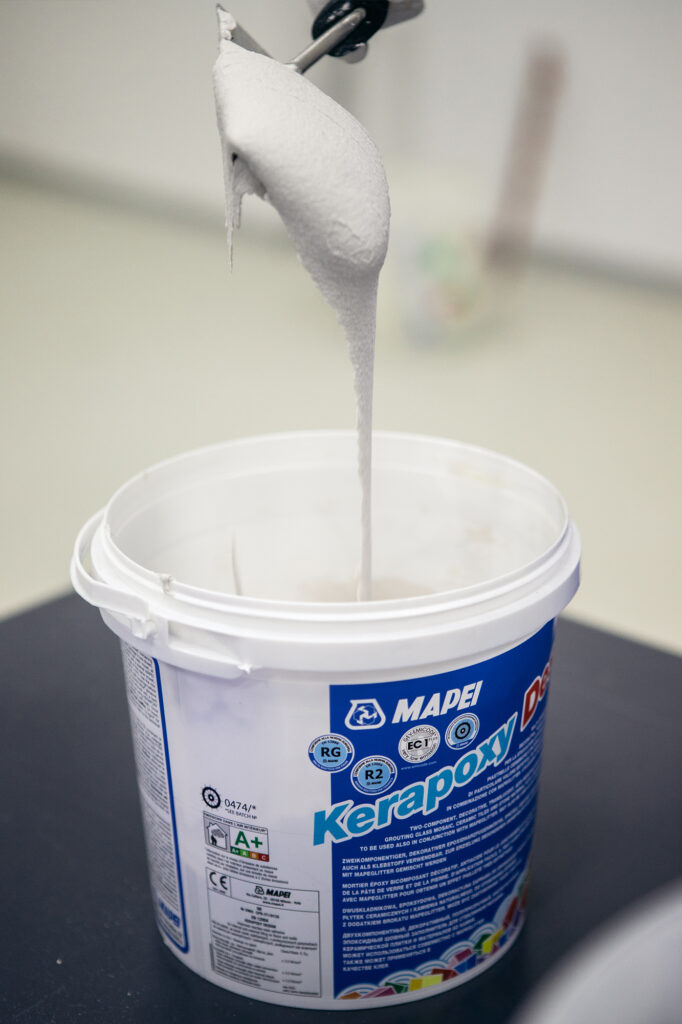
1.Carefully measure out the grout components and mix until smooth.
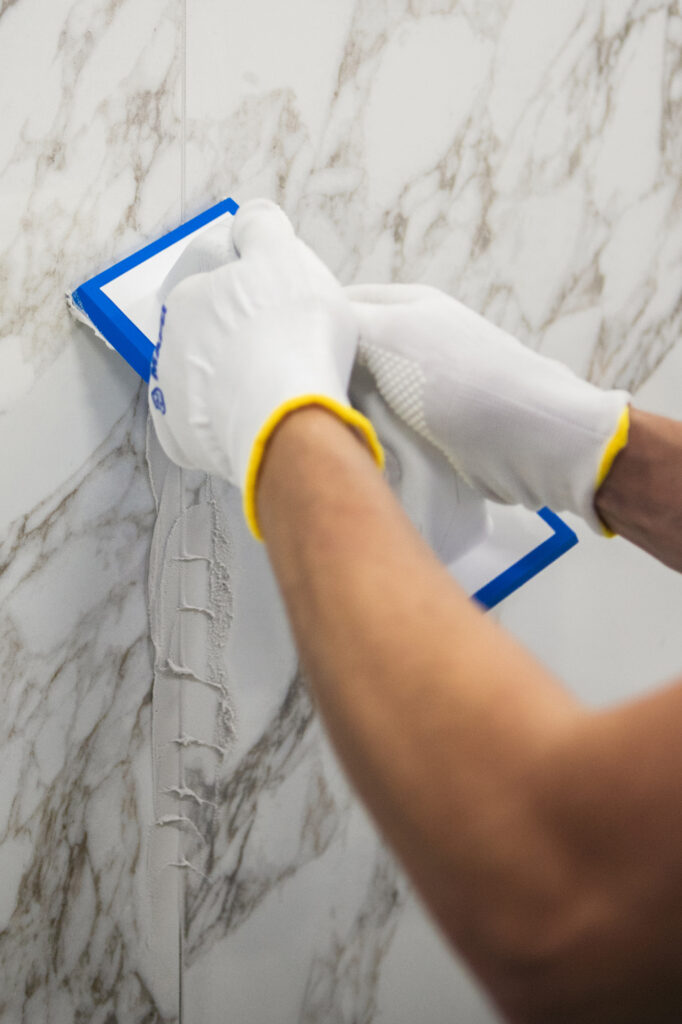
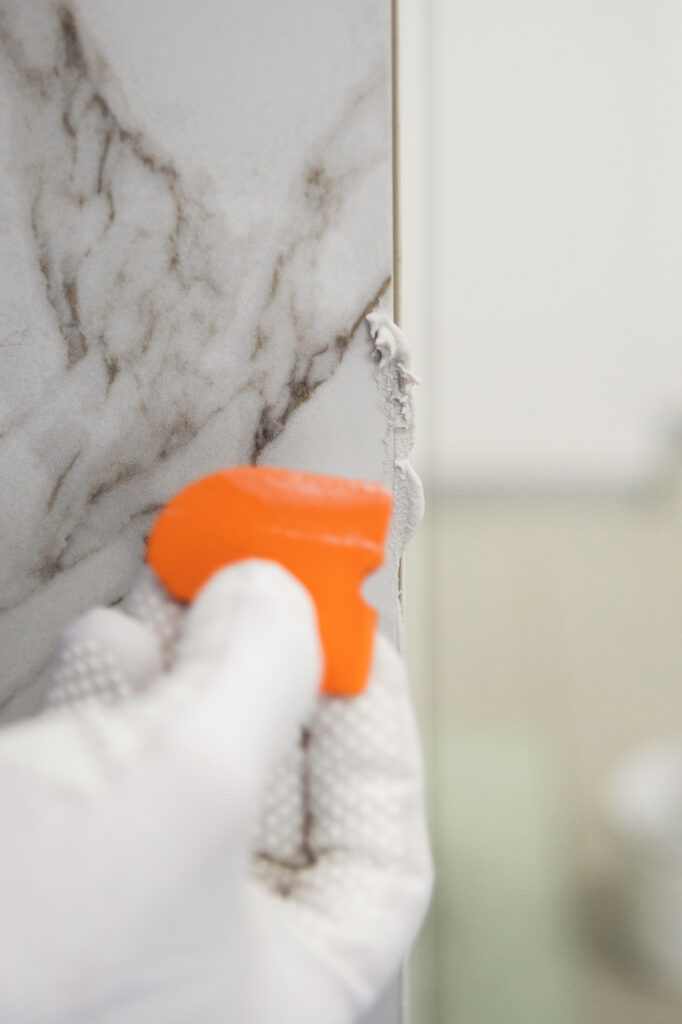
2.Fill in the joints with a rubber trowel.
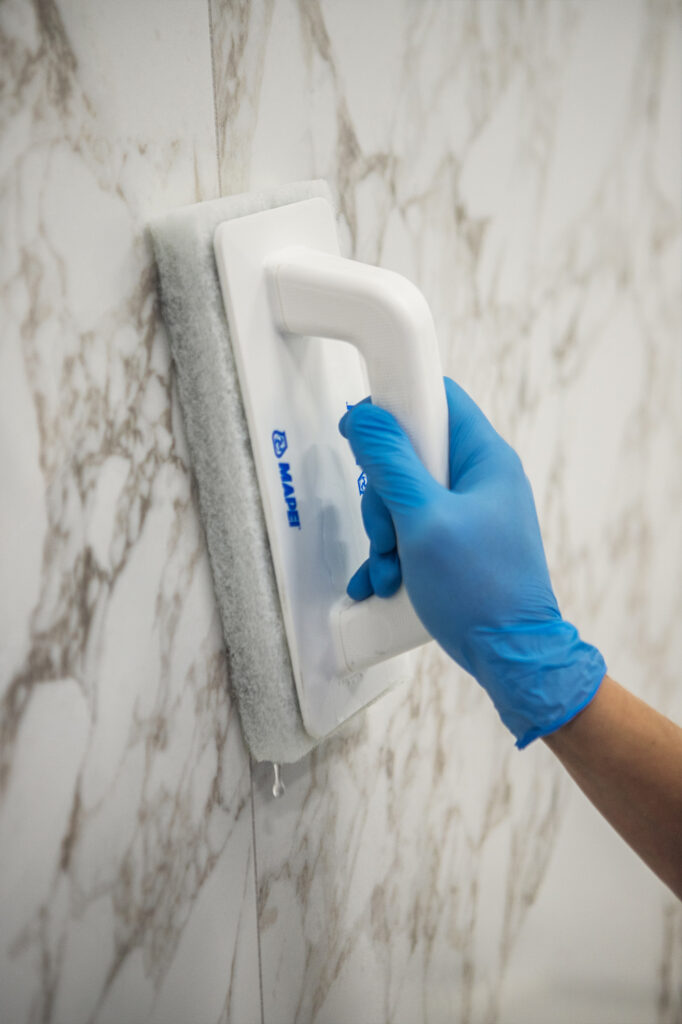
3.Remove excess grout.
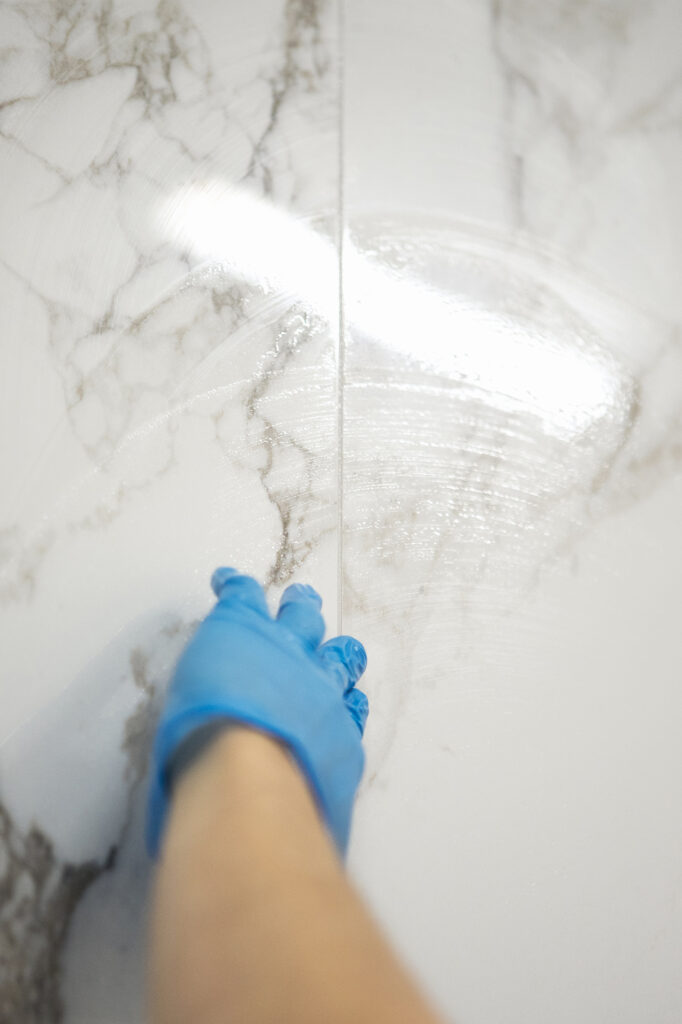
4.Perform initial surface cleaning with clean water and a mop.
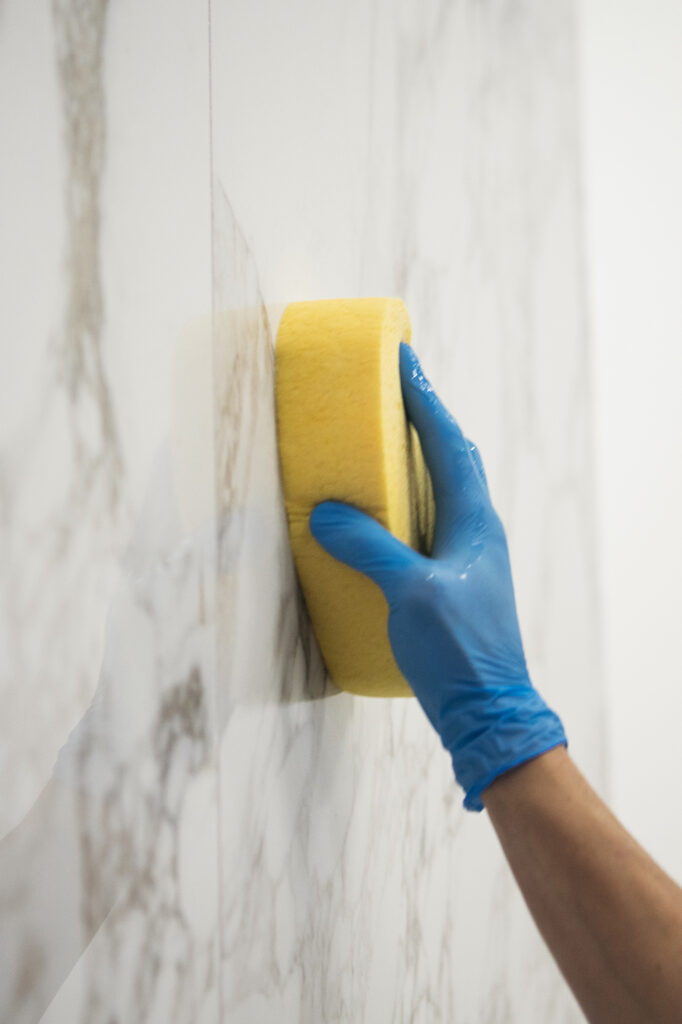
5.Remove any remaining traces of grout with clean water and a cellulose sponge.
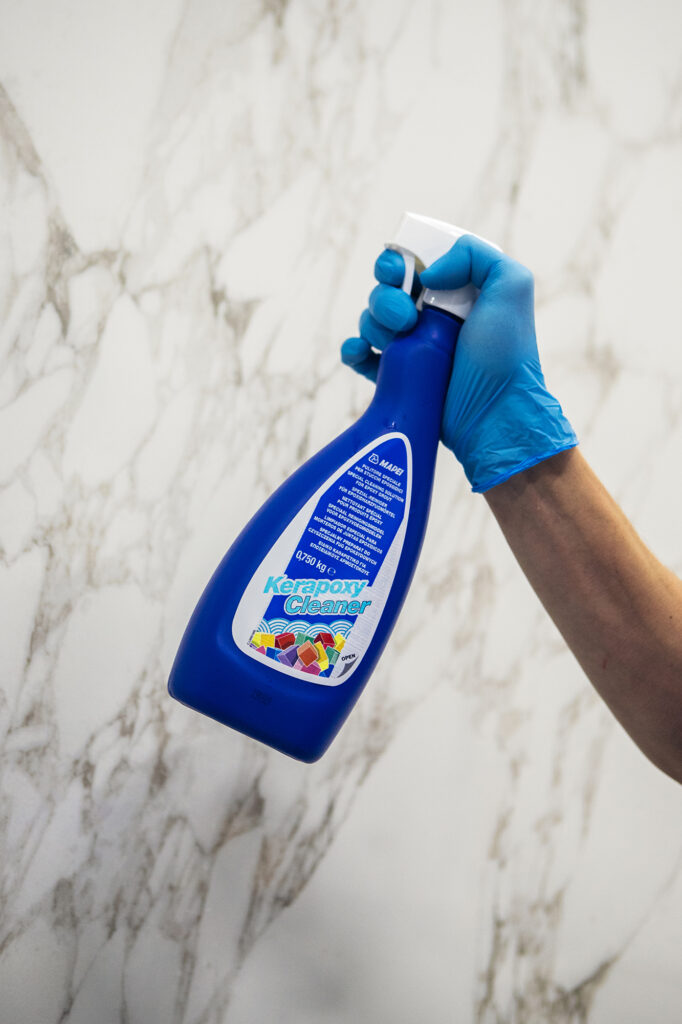
6.If necessary, use specialized detergents to remove grout marks.
In the articles “120×278 Maxi-Format: Adhesives“, “120×278 Maxi-Format: Mechanical Processing” and “120×278 Maxi-Format: Packaging and Transportation” you can read about other specifics of working with large-format slabs.

