How To Lay Rectangular Tiles
You bought rectangular porcelain stoneware, for example, wood effect tiles 20×120 or 22×90, but it looks “warped”, with that bump in the center. What to do about it? Master Dmitry Drozdov @instaburpro explains why tiles are curved, how to measure the curvature and how to properly lay rectangular tiles.
First, you need to understand that this is not a defect. This is a feature of all rectangular tiles inherited after the production process: powerful pressing – more than 5000 t / m2 and firing at high temperatures 1230 C and more. All this creates some residual stress inside the tile, and, as a consequence, to its geometric deformation in the center. So that bend in the middle is explained by physics.
On a square tile, this is barely noticeable, but on all rectangular formats this curve will be more obvious, and the longer the tile, the more prominent is the inherited warpage.
HOW TO MEASURE THE CURVATURE OF A TILE.
Lay tile on a flat surface and then measure the gap between the center of the tile’s curvature and the base with a special tool, for example, feeler gauges.
According to GOST 13996-2019, the maximum allowable warpage is +/- 2 mm. Therefore, convex or concave must not exceed 2 mm. If measurements show that warpage exceeds the allowable deviation, then you must stop laying and contact the seller.
Under no circumstances should you determine the curvature of a tile by applying a tile to a tile or by pressing a gauge rule against the edge of a tile: these methods will not give you an objective picture. In the first case, you add the curvature of one tile to the curvature of the second tile and end up with incorrect data. Moreover, the longer the tiles are, the more they will deviate from each other and the larger the gap between the 2 tiles will be.
In the second case, you should remember the Pythagorean theorem, pure geometry explains it all. The longer the tile length, the larger the measured segment (leg) will be.
HOW TO INSTALL RECTANGULAR TILES?
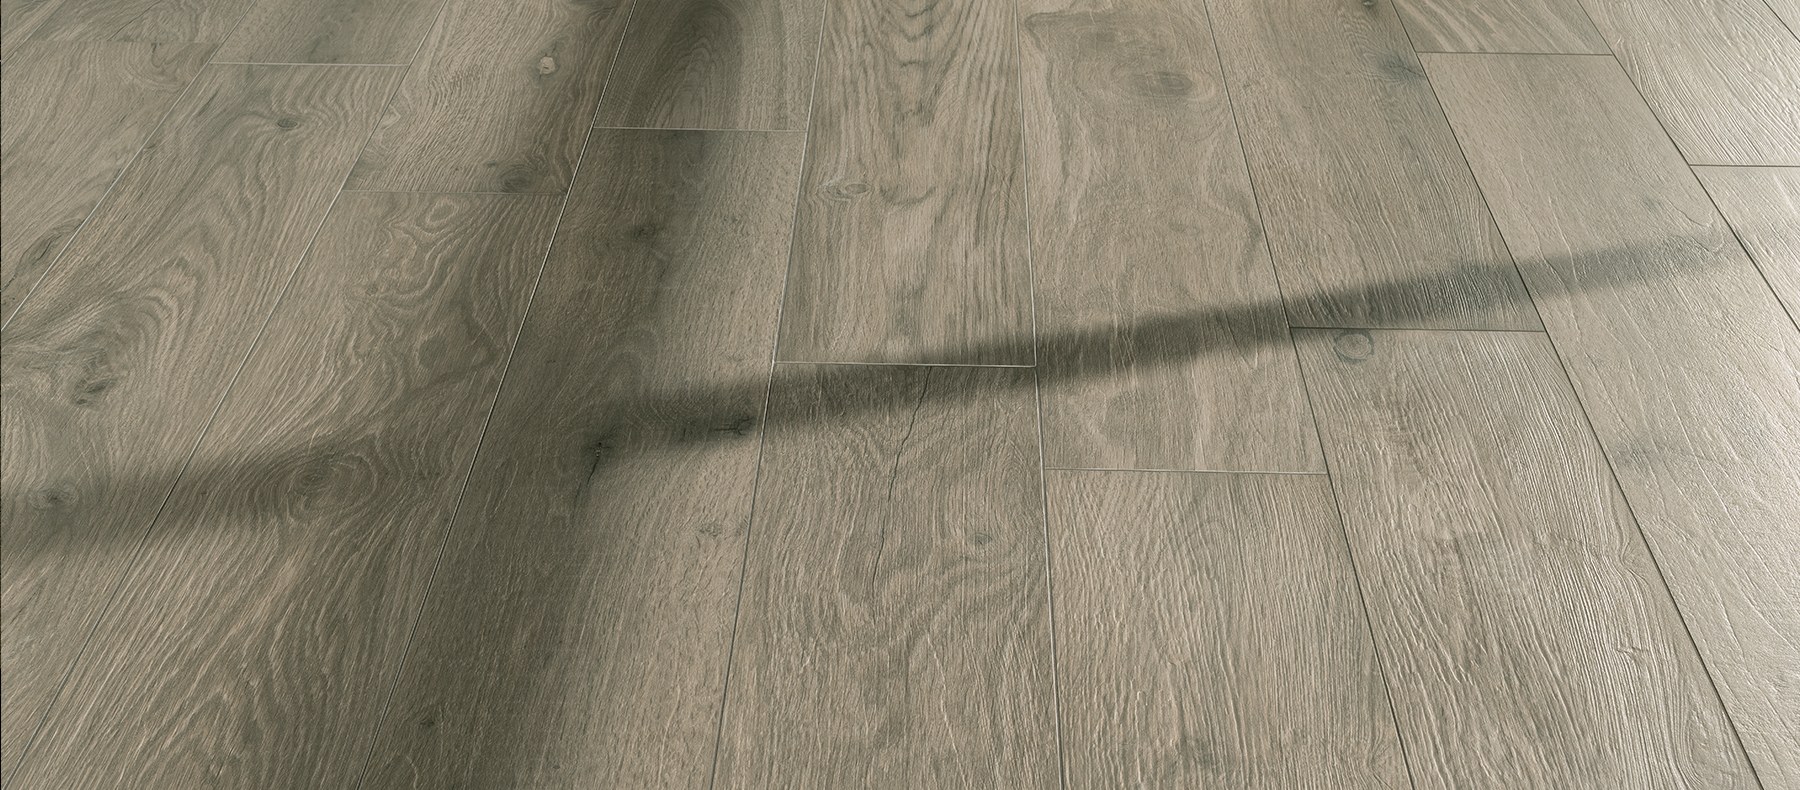
Laying wood effect tiles on floors or walls.
Downbelow we will share a few rules on how to lay rectangular tiles that will help you to get the perfect result in terms of aesthetics and durability.
- Be sure to check the geometry of the room, you need to know if the walls are parallel and perpendicular. If any of these parameters have deviations, laying the tiles straight (parallel to one of the walls) can accentuate the unevenness in the form of wedge-shaped tile trim. This problem can be solved by laying tiles diagonally, at an angle of 45 degrees to one of the walls. This will help to hide the room’s defects.
- The most popular way of laying rectangular tiles is an offset pattern, like parquet or laminate. We do not recommend placing tiles for more than 1/3 of their length relative to each other. The most problematic pattern will be a 50% offset, or 1/2. When the edge of one tile comes to the center of another, it creates a noticeable step, especially on rectified tiles with clear-cut edges. It is not just visually noticeable; you can feel it too.
- When working with rectangular wood effect tiles it is very important to use a tile leveling system. The TLS facilitates the process of aligning the tiles and fixes them in one place, preventing uncontrolled lippage of the tile.
The tile leveling system could also stretch out a slight bend in the tile, and lightly align the curved tile. Again, with an offset of no more than 1/3. Someone might say that this method creates tension in the tile, but with the correct type of adhesive, this problem can be avoided. For more information, see the article “A guide to choosing the right tile adhesive“.
WHAT AMOUNT OF TLS TO USE
When laying long rectangular tiles, we recommend placing a TLS every 25-30 cm; and the more often the better.
If you want to get a good result without the obvious lippage, we do not recommend saving on these disposables.
- Laying of porcelain stoneware must be carried out with the correct adhesive, suitable for the given conditions and tile format.
- The grout joints must be at least 1.5-2 mm. Tiles on heated flooring must be laid with grout joints of at least 2.5-3 mm. Laying tiles without grout joints is a huge mistake. Tiles must not be laid without grout joints.
- After installation, it is necessary to quickly remove any remnants of adhesive and grout solution from the surfaces. When the work is completed, cover and protect the tiles using a dense film, foam underlayment or fiberboard.
LAYING RECTANGULAR TILES – 30X60, 40X80, 60X120, etc.
All of the recommendations above are valid for all rectangular tile formats.
Wall porcelain stoneware in most cases is installed using a linear grid, so it is even easier. When the tiles aren’t installed with an offset pattern, the warpage on them will not be noticeable to the eye.
Any rectangular tiles require the use of a TLS and grout joints of at least 1.5-2 mm.
It is worth considering that tiles 60×120, 80×160 and bigger are considered maxi-size, and you will need to pay special attention to the choice of adhesive. For maxi-size, we advise you to use adhesives of a class not lower than C2S1. The detailed video on how to choose a tile adhesive is already in our blog.
By following all these simple rules, you will get great results!
Author of the article and video: Dmitry Drozdov


