How to Bevel Tiles
Professional tile layer Dmitry Drozdov (@instaburpro) shares some tips on how to bevel tiles.
WHAT IS BEVEL CUTTING
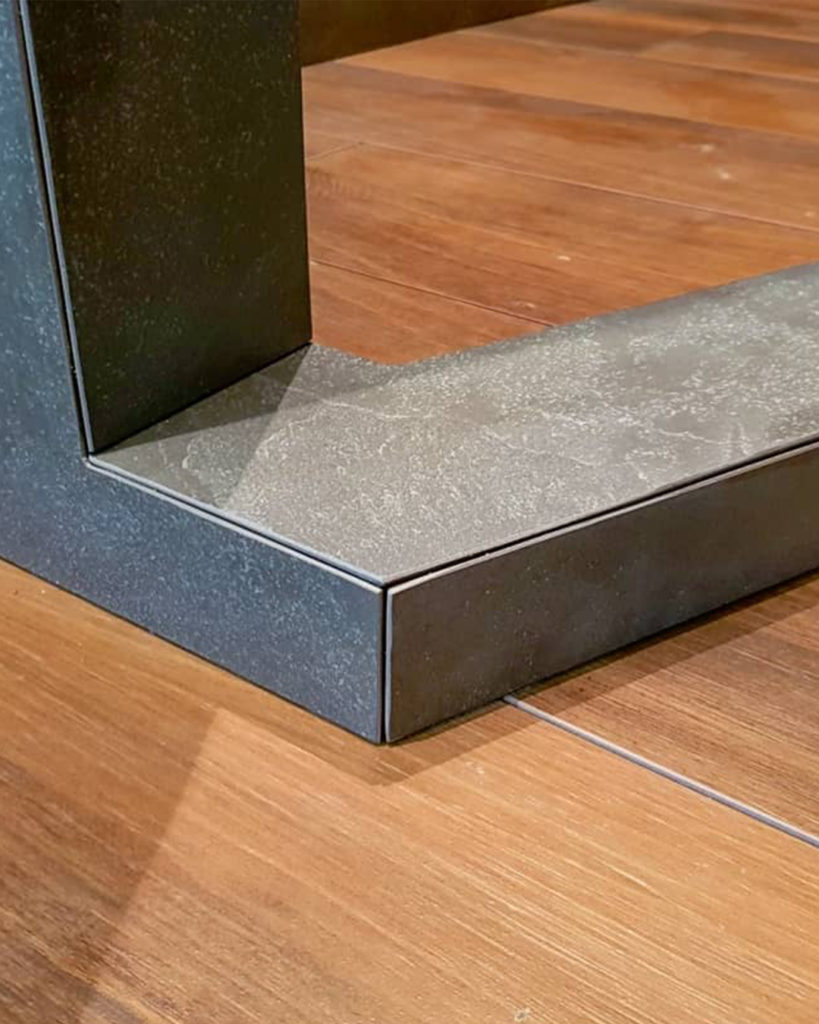
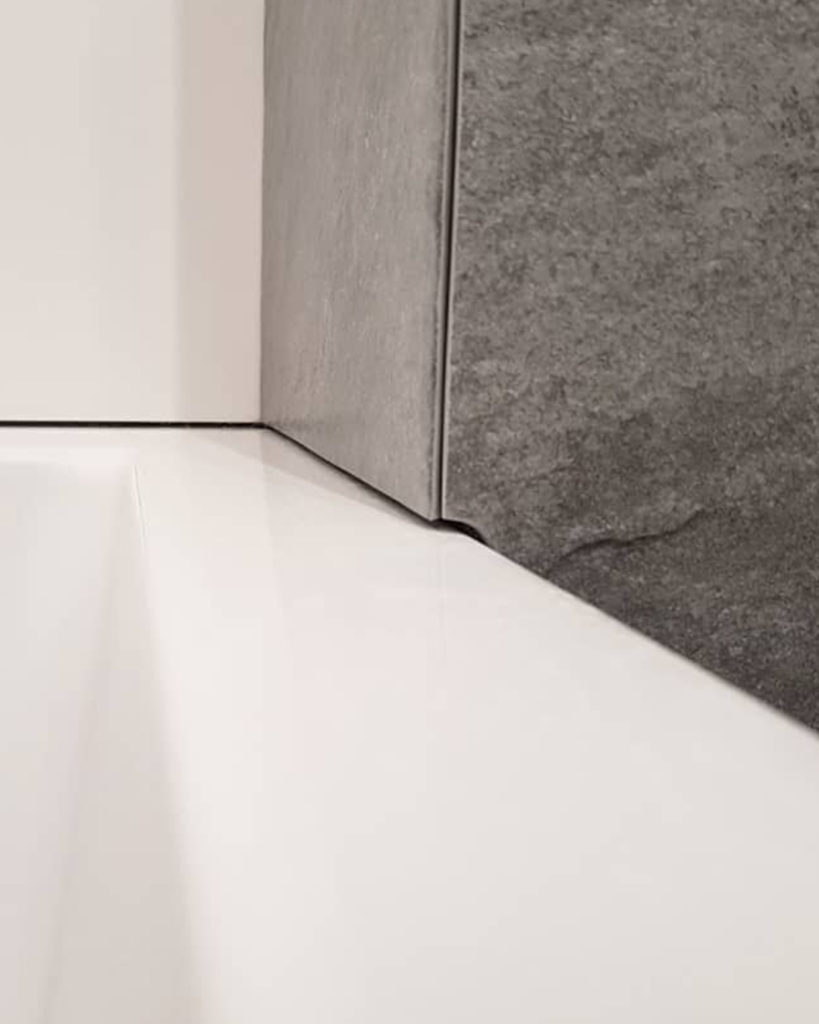
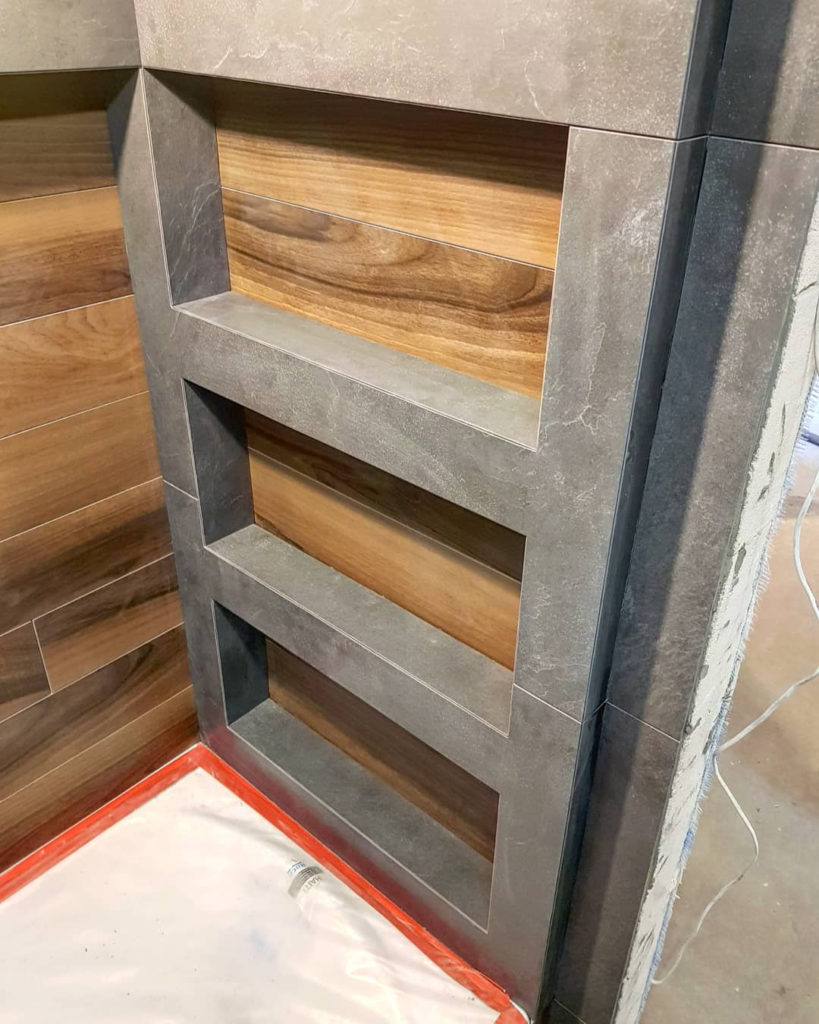
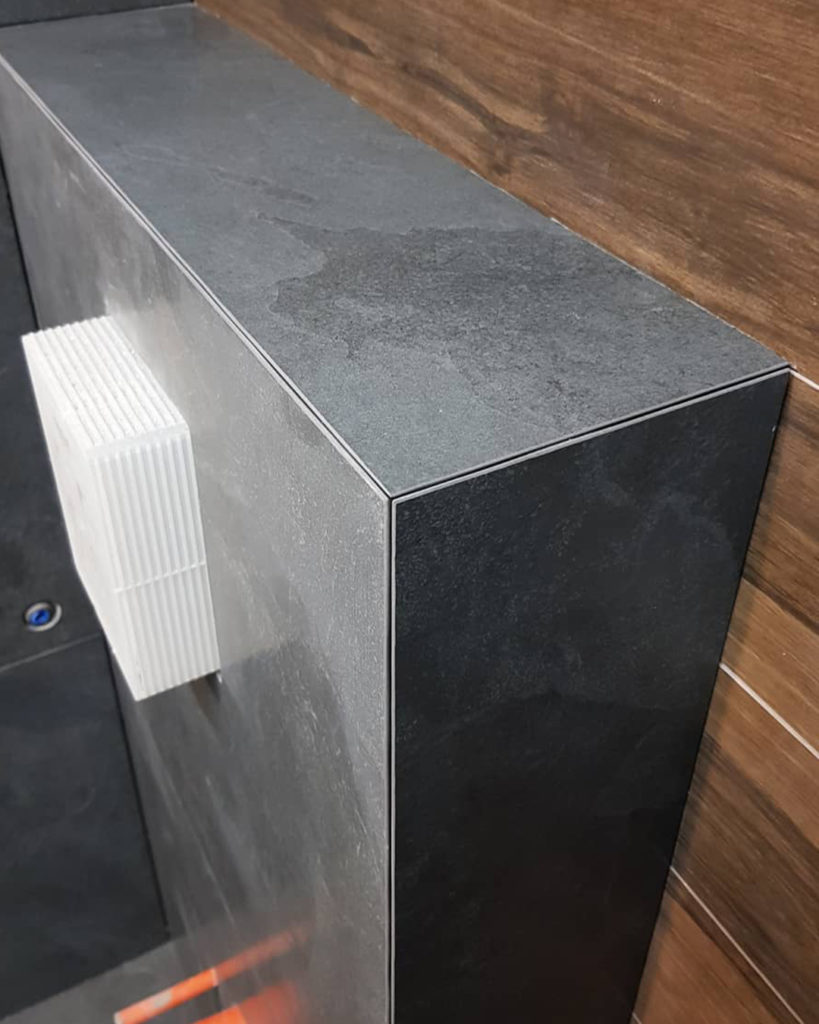
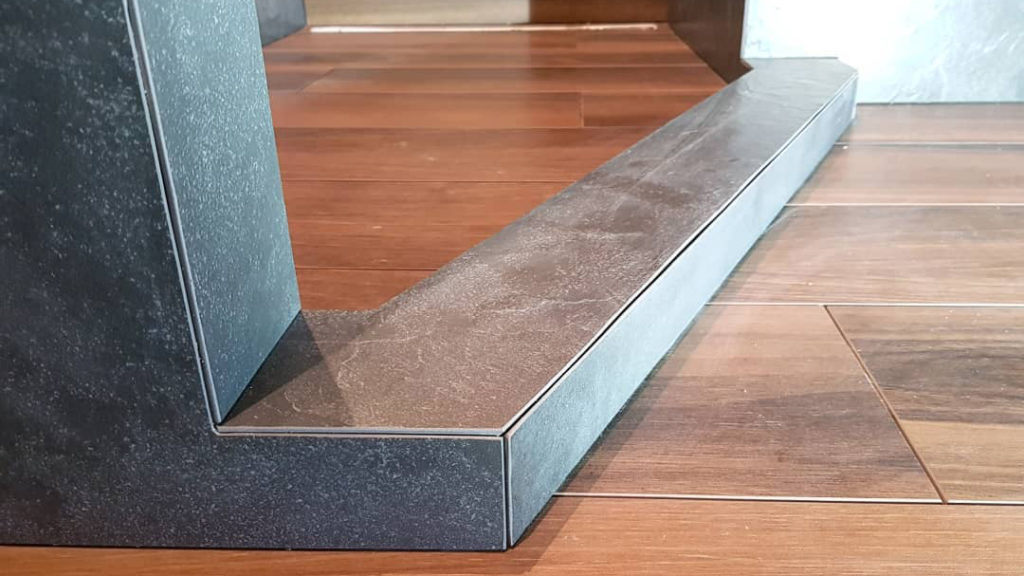
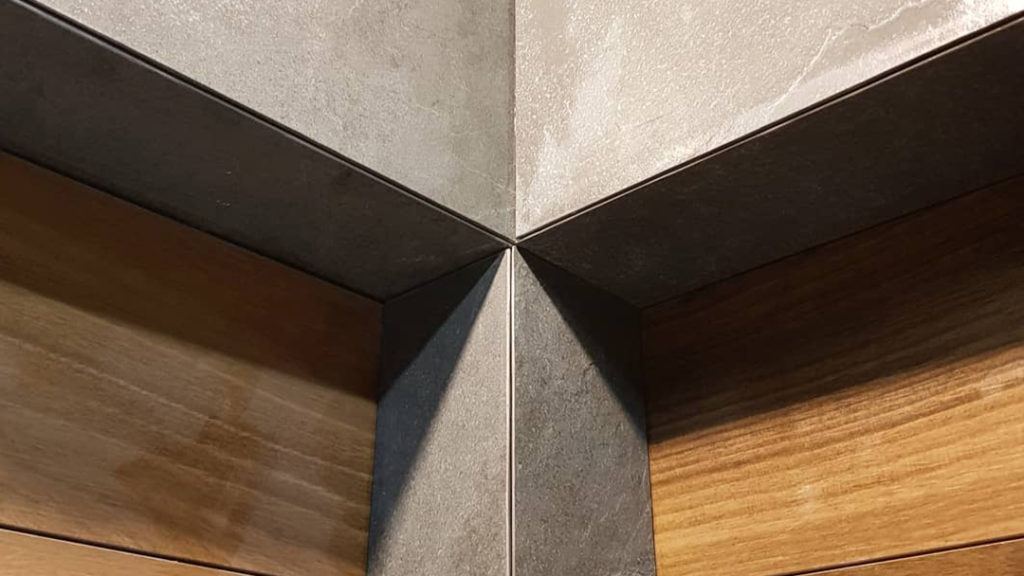
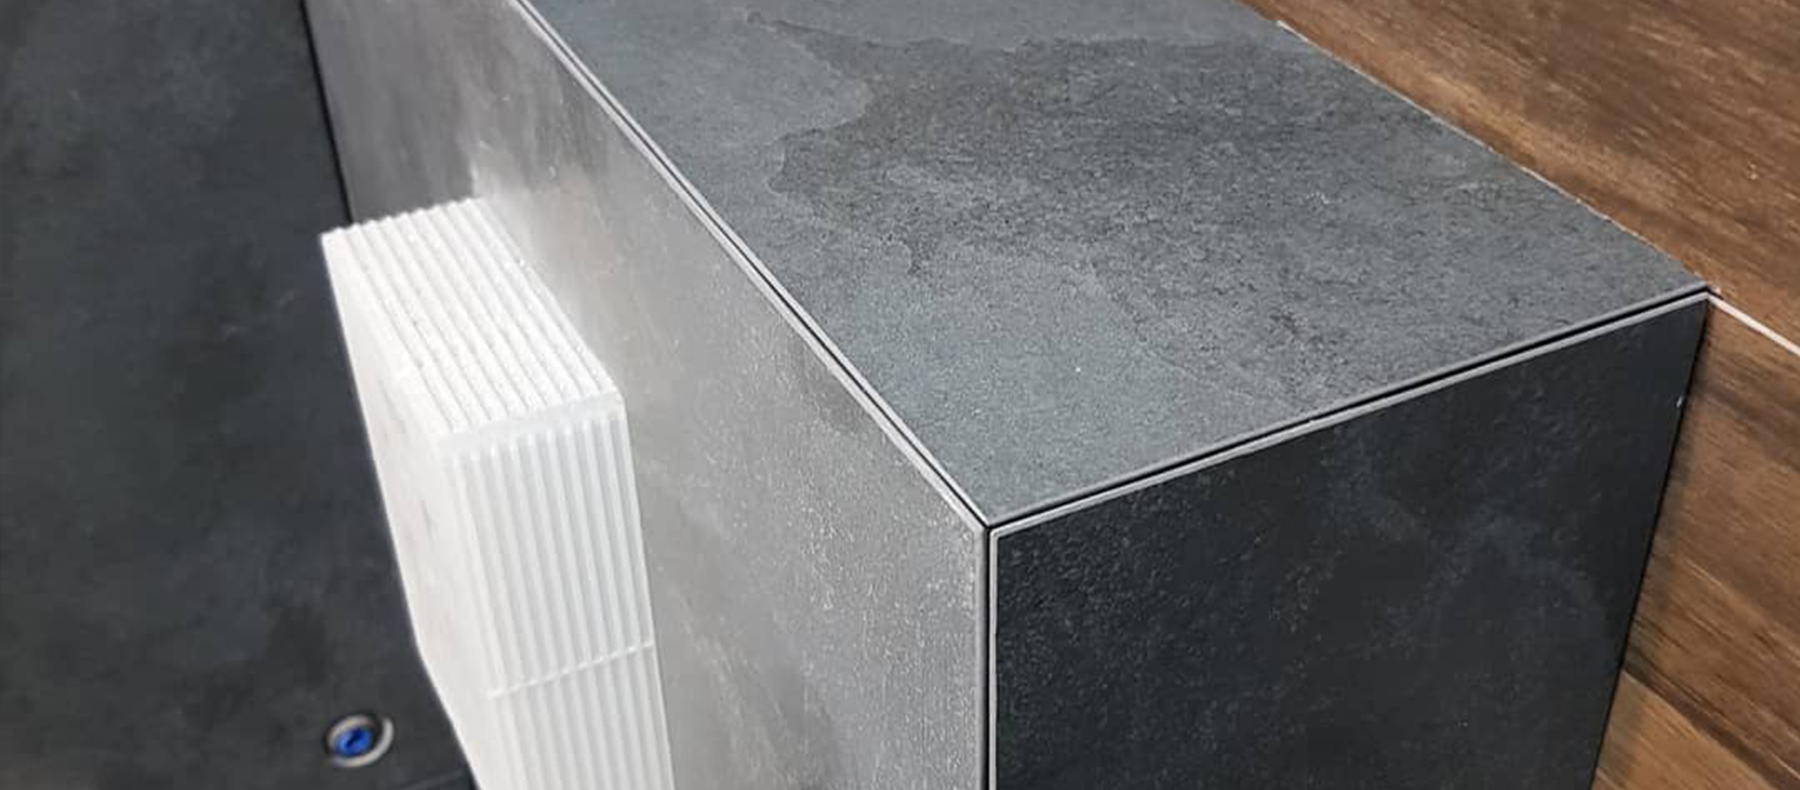
Bevel, or miter, cutting is a way of angling the edge of a tile to a 45-degree angle in order to achieve an appealing design for corners and decors. Bevel cuts are very popular and frequently used in design projects.
When the corner angle is 90 degrees, you also have different options other than bevel cuts:
- Use tile edge trims (metal or plastic);
- Use ceramic corner pieces (bullnoses or jolly tiles);
- Overlap tiles (this method is often used with 3mm large-format porcelain stoneware or certain glass or natural stone mosaics).
However, if the corner adjacent to the tile you’re laying presents an obtuse or acute angle, you have no choice but to cut the edge of the tile so it presents a 45-degree angle. I’m sure you’d like to ask a few questions right now! Like, how to get that 45-degree cut without chipping, or how to grind the middle of the tile and not the factory edge. Also, how sharp should the edge be after grinding? Do I leave any space between tiles?
That’s where we come into play with the answers you need!
HOW TO MAKE A BEVELED EDGE ON A TILE
It doesn’t matter if you do it manually, with a file, or with an electric tile cutter. The basic principle behind this operation will always be the same.
The most important thing is to keep the disc of your saw (or file) away from the glaze, otherwise you’re going to end up chipping your tile. Remember, when cutting a tile, to leave at least 1 / 1.5mm from the edge. If you want a sharper angle, then you’re going to need to sand it down, as it is a much safer and more efficient way to do it.
You might need to achieve a 45-degree cut in the middle of the tile, or further away from the factory edge. After all, this happens quite often when you’re working on two corners around a narrow ledge. In that case, the tile should be shortened first, and then beveled on both sides. Avoid cutting a tile at 45 degrees right in the middle, otherwise you’ll end up with a torn and chipped edge that will be difficult to align and sand.
Measure the desired size first and then make a straight cut. Only after that can you start cutting to achieve the angle, and always following an important rule: do not reach the glaze (the front surface). The final step is sanding the edge of the tile to remove any chip.
HOW SHARP DOES A TILE EDGE NEED TO BE
The sharper you make the edge of the tile, the more fragile it will be. Super thin edges have increased chances of chipping in the future. Needless to say – but nonetheless important to remember! – they can also be quite dangerous and seriously hurt you if you bump into them. Please, keep that in mind and avoid cutting yourself.
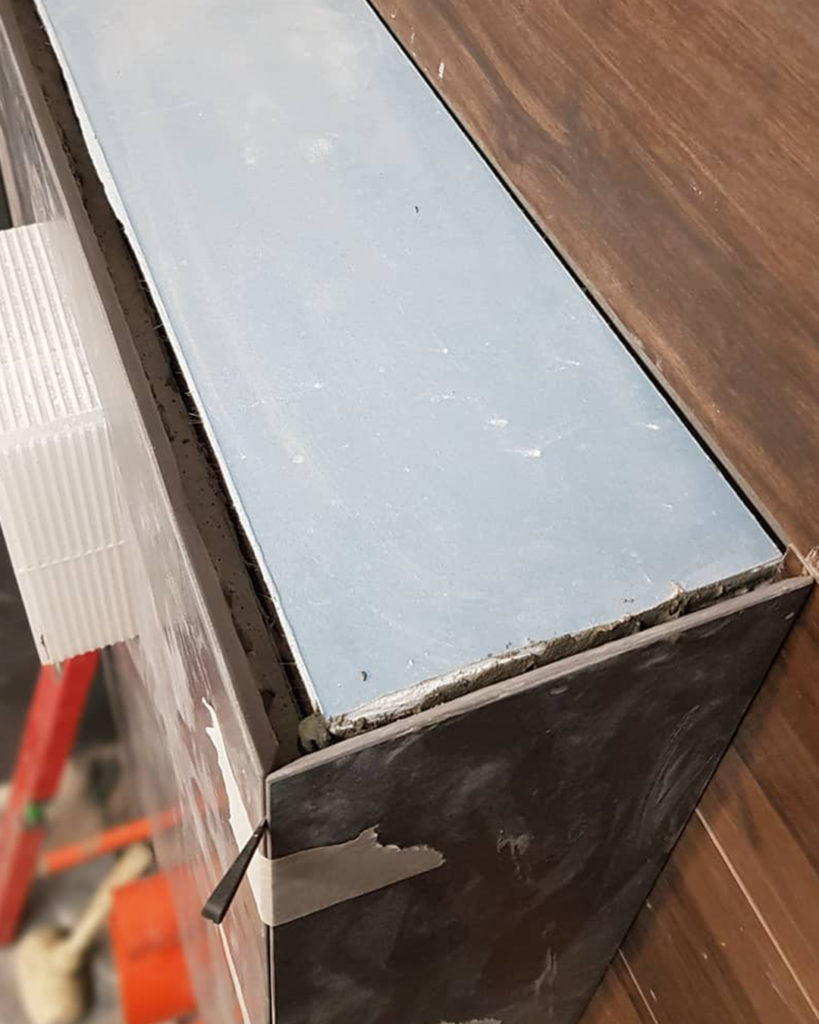
It is better to leave a 0.5 – 1mm of the underside of the tile. This has little effect on the look, but it will make the angle more practical.
JOINTS
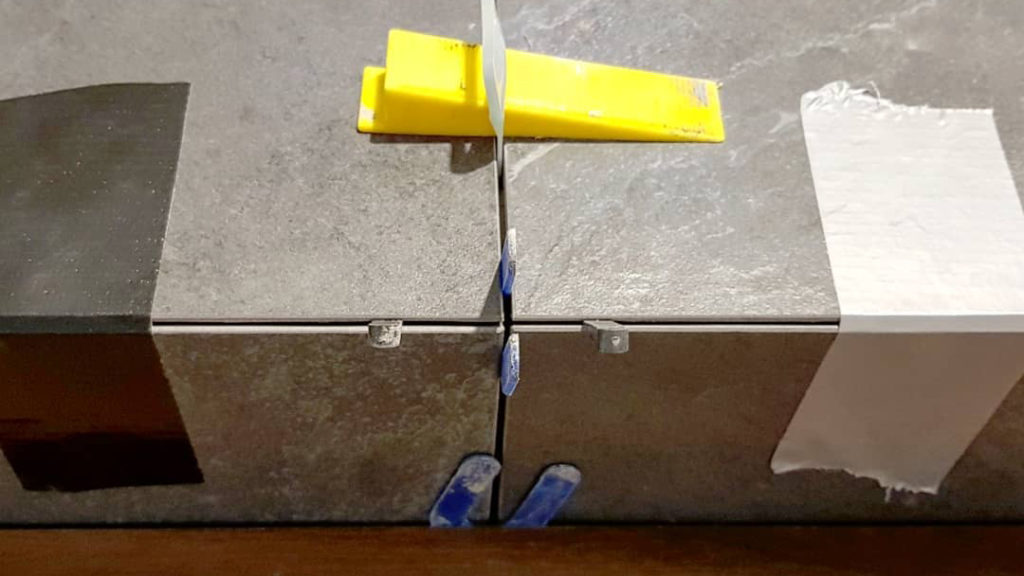
It is crucial to leave a 1-1.5 mm gap between tiles as it will make the outer corner more solid and resistant. If you push tiles too close to each other there won’t be a surface for grout to cling to and you’ll consequently leave the joint exposed. Always remember to leave a gap!

